Tutorial: Create a RETIGO File from an Excel Spreadsheet
This page contains both video and interactive tutorials that will show you how to take an Excel spreadsheet and convert it into a valid RETIGO input file.
Start by downloading this Retigo Example Spreadsheet (xlsx) .
Video Tutorial
This video tutorial will show you how to create a RETIGO file from an Excel spreadsheet. You can also read through the regular tutorial material below. The video is narrated, so be sure your sound is on.
- Video: Creating a RETIGO file (WMV) (13:59, 19.7 MB, 960x540)
- Video: Creating a RETIGO file (MP4) (13:59, 21,1 MB, 960x540)
Interactive Tutorial
When you open the example in Excel, you will notice that it is similar to a RETIGO file in terms of the columns of data, and yet it differs in a couple of ways. First and most importantly, the timestamp does not conform to the ISO-8601 standard. Instead, the timestamp is given in Excel's internal timekeeping system (aka "Excel serial time"). Also, the column headings are incomplete.
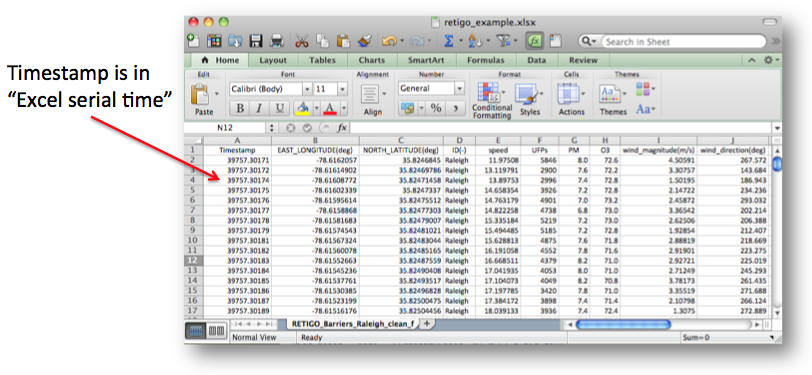
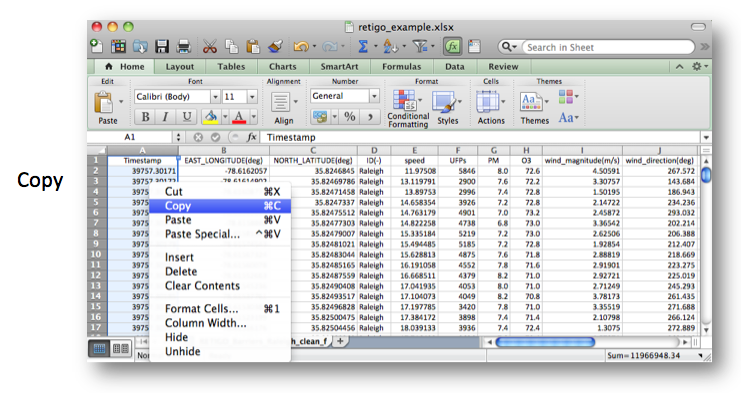
The simplest way to generate the appropriate timestamps is to use RETIGO's timestamp converter tool. Just select the timestamp column, copy it, and paste it into the left-hand side of the timestamp converter tool.
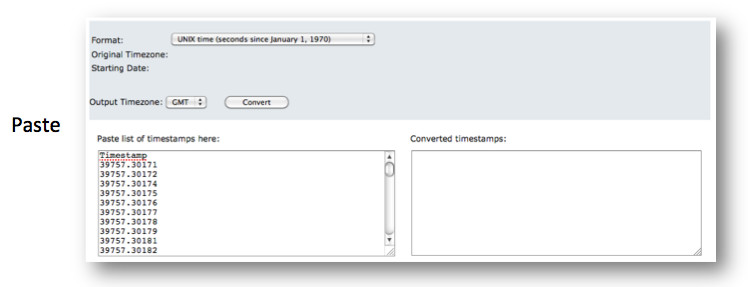
The next step is to choose the type of timestamp that you have. In this case it is "Excel serial time (1900 date system)", because the computer that generated the Excel file used that date system. For more information on the two date systems that Excel uses, see the Microsoft Support page Date systems in Excel.
Certain time formats (such as UNIX and IGOR) are always referenced against the GMT timezone, while others (such as Excel time) could be relative to any timezone. If you need to specify the timezone, the "Original Timezone" menu will appear. In this example, the original timezone was Eastern Standard Time (EST), corresponding to a November, 2008 data collection in Raleigh, NC.
The "Output Timezone" is strictly optional, but is provided as a convenience if you prefer to "think" relative to a certain timezone. In this case, we selected EST so that the base time in the generated ISO-8601 timestamps is relative to EST. No matter what output timezone is selected, the ISO-8601 timestamp will refer to the same instant in time because the appropriate GMT offset will automatically be created.
Once the selections are made, press the Convert button to generate the list of converted timestamps:
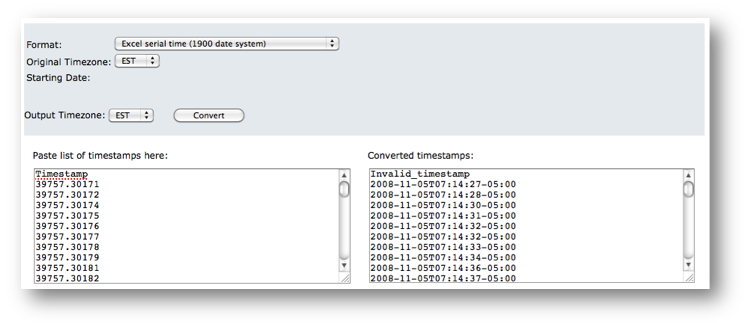
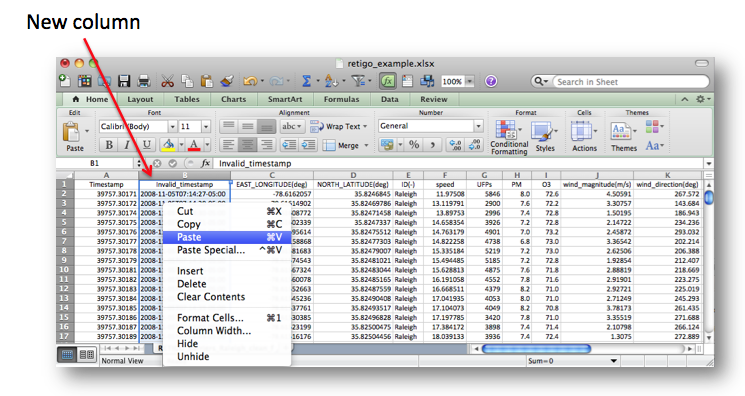
The next step is to copy the list of converted timestamps and paste them into a new column in the Excel spreadsheet:
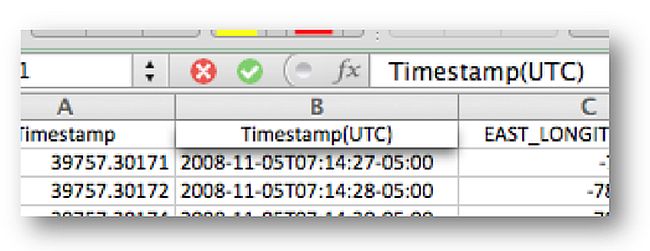
While we are at it, we might as well add units to the other data columns so RETIGO will be able to display them properly:


